
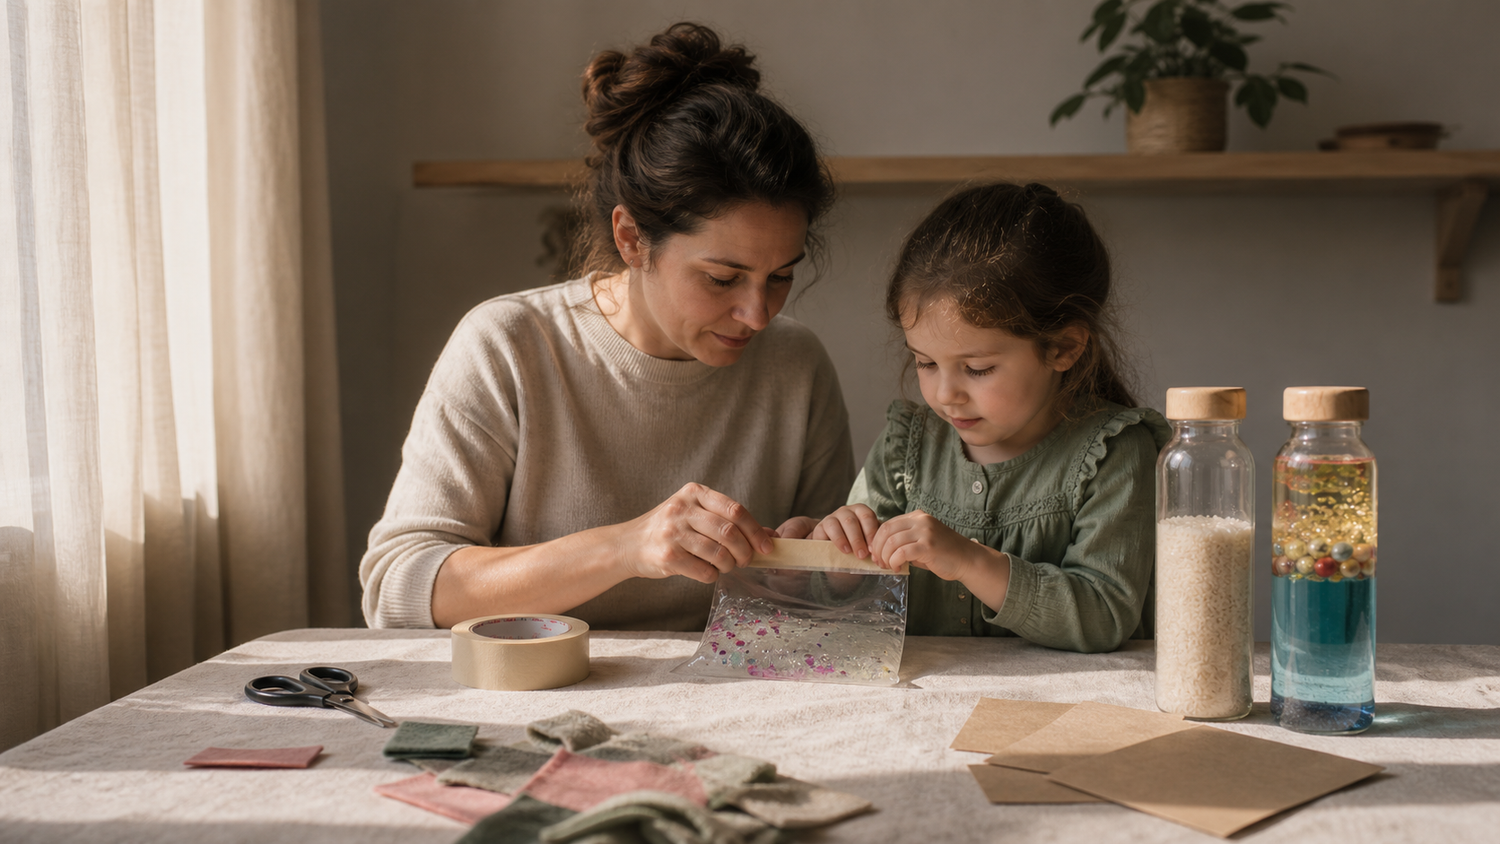
The big advantage of homemade sensory toys is not the price, but the control: you decide how much stimulus is in it and how loud it is. The big disadvantage lies right next to it: with purchased items, someone else checks that nothing falls off and nothing can be swallowed. With homemade items, that someone is you.
Therefore, this is not about more ideas. What sensory toys can do at all and what to look for when buying them is covered in our detailed guide to sensory toys for children. Here, it's about four specific building instructions and what is safe to build in the kitchen and what is not.
Four Instructions, Step by Step
| What | Material | Time | Recommended from |
|---|---|---|---|
| Sensory bag | Zip-top freezer bag, hair gel, tape | 5 min. | approx. 1 year, always with supervision |
| Sensory bottle | Empty bottle, water, oil, rice | 10 min. | approx. 1 year |
| Sensory mat / tactile memory game | Cardboard, fabric scraps, sandpaper, glue | 30 min. | approx. 3 years |
| Sensory bin | Shallow box, filler material, cups | 5 min. | approx. 3 years |
The age indications are practical classifications, not norms.
1. Sensory bag. Fill a sturdy zip-top freezer bag one-third with clear hair gel, add a few decorative elements: sequins, some food coloring. Squeeze out the air, seal it, and tape the entire edge with wide tape. This is not a cosmetic detail, but the actual safety measure: the taped edge holds the bag together even if a child steps on it.
2. Sensory bottle. Fill a small plastic bottle two-thirds with water, add a few drops of food coloring, then some cooking oil. Shake it, watch how the two separate again – that's the whole appeal. Fill the inside of the lid with hot glue, screw it on, secure the outside with tape. Variation without water: dry rice or sand, then the tactile bottle becomes a sound bottle.
3. Tactile mat or tactile memory game. Cut eight to twelve equally sized pieces from thick cardboard, then glue the same material to two of each: felt, sandpaper, oilcloth, cord, foam rubber. Let it dry, then feel for the pairs with your eyes closed. Glued side-by-side onto a strip of fabric, it becomes a tactile mat for hands or feet.
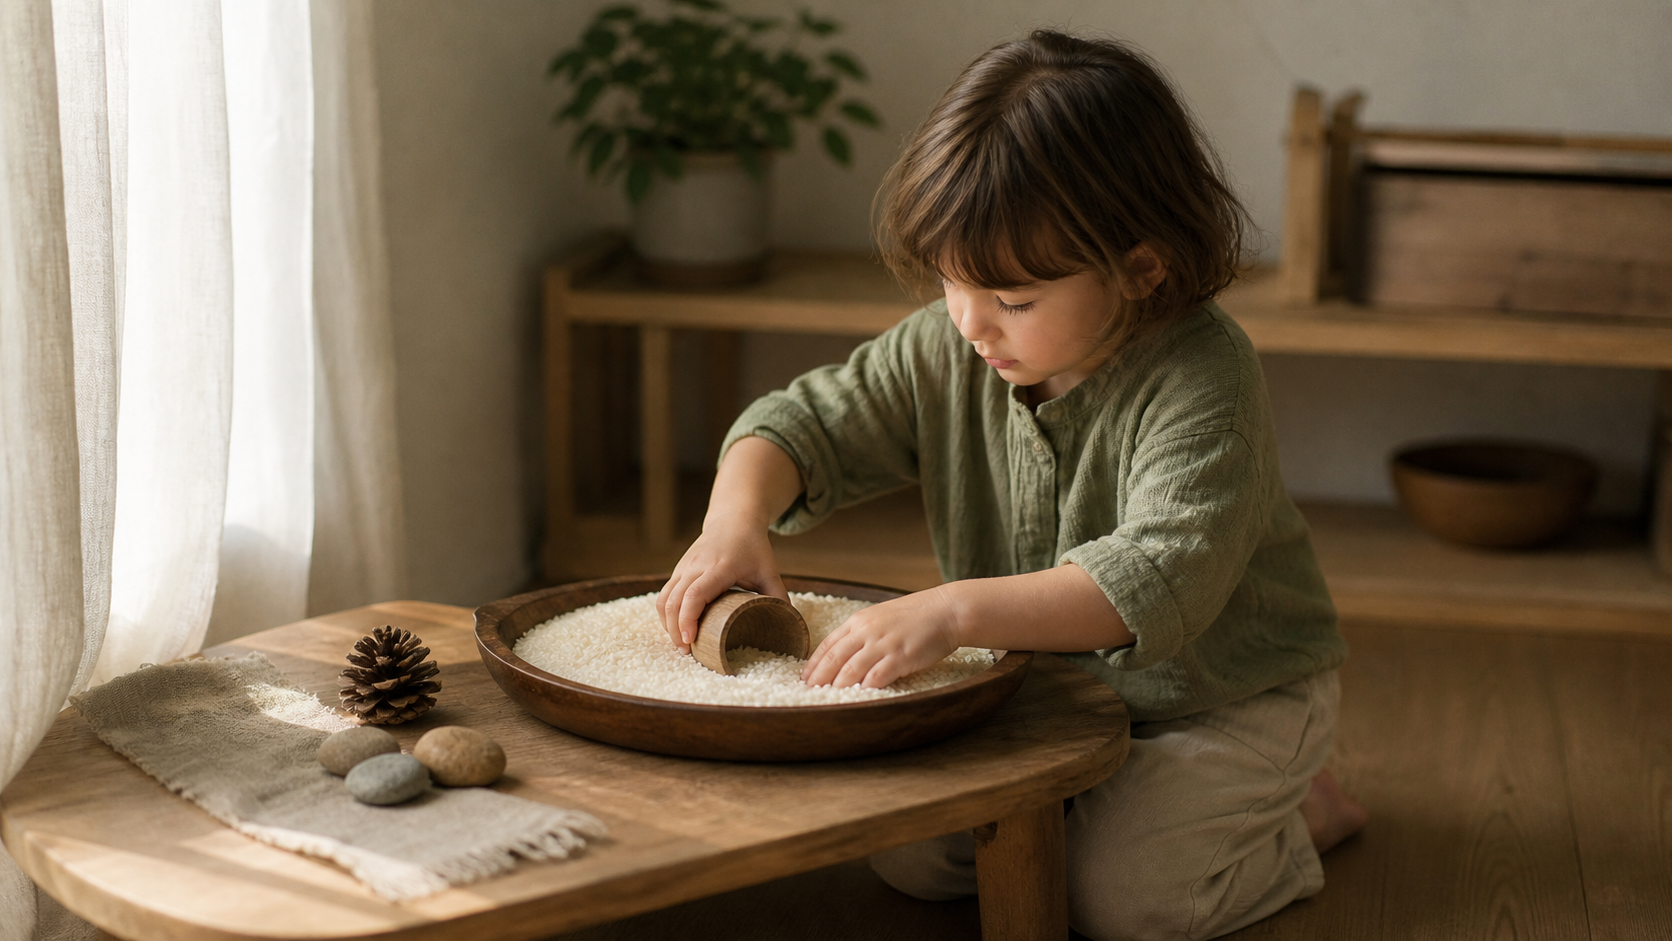
4. Sensory bin. A shallow box, a kilo of dry rice, along with cups, spoons, and a funnel. An old bedsheet underneath makes cleanup a two-minute task. For variety, change the filler material every few weeks: sand, pasta, chestnuts, water with foam.
The Safety Check: The 31.7-Millimeter Test
For purchased toys, a testing facility handles this: "without the CE marking, toys may not be traded in Europe," writes the Bavarian Consumer Portal. What you build in your kitchen is not traded, so you take over the testing.
Fortunately, the most important test is simple. The Bavarian State Ministry for Environment and Consumer Protection describes it as follows: "Small parts are all parts that fit into the test cylinder (Ø 31.7 mm)." And further: "Toys for children under 3 years must not contain detachable small parts." The Ministry adds that "children aged 3 years or older can still swallow small parts and be at risk." The dimensions of the cylinder are specified in standard DIN EN 71-1, as explained by the Lower Saxony State Office for Consumer Protection.
At home, an empty toilet paper roll is sufficient as a makeshift tool: anything that falls through loosely should not be within reach of small children. This is coarser than the standardized cylinder but in the right direction. The Federal Institute for Public Health (BIÖG) additionally states for the youngest children that toys should not be "so small" that they "can be swallowed or inhaled," and beads or buttons "that can come off" have no business being on them.
Three Fillings That Don't Belong
- Water beads. They look tempting in every sensory bin yet are the biggest risk in this category. These superabsorbent spheres can, according to the Professional Association of Pediatricians (Berufsverband der Kinder- und Jugendärzte), "expand up to 400 times their original size" and "cause intestinal obstructions that require surgery." In the evaluation of 89 cases referred to there, with an average age of about 14 months, 84 percent of the children required surgery.
- Button cells, i.e., anything that lights up: "Swallowed button cells can cause severe poisoning," writes the BIÖG.
- Anything swallowable in open form. Beads, marbles, raw legumes: fine in a glued bottle, but not open in a box for small children.
Sound Bottles: Sensory Experience for the Ears, with Moderation
The sense that is most often neglected when building things oneself is hearing – yet it is the only one where the hands remain free. Here too, however, there is a measure, and a measurable one at that. The BIÖG points out that continuous sound levels above 80 to 85 dB(A) can cause "permanent hearing damage with prolonged exposure"; snap frogs and toy pistols directly at the ear can reach 140 and 170 dB(A) respectively. A sound bottle with rice is far from that; one with metal screws, shaken directly at the ear, significantly less.
If you want to think beyond crafting when it comes to listening: Ohrlaf is a screen-free audio box where your child places a card and starts the story – without a display, without a menu, and it ends on its own instead of continuing.
Conclusion
Homemade sensory toys are quick to build, cost almost nothing, and can be tailored precisely to your child. The time you save is best invested in the safety check: generous use of tape, no swallowable items left open, no water beads, no button cells.
And if your child gets up after two minutes, that's not a failure of the craft. Sometimes the stimulus storage is simply full – how to recognize this is explained in our article on overstimulation in children.
Frequently Asked Questions
How can I make sensory bags myself? Fill a sturdy zip-top freezer bag about one-third full with clear hair gel, add a few decorative elements and some food coloring, squeeze out the air, and seal the bag. The crucial final step is to tape the entire edge with wide tape so that the bag remains sealed even under pressure.
How can I make a sensory mat myself? Cut equally sized pieces from thick cardboard and glue different materials onto them – felt, sandpaper, oilcloth, cord, foam rubber. Then glue them side by side onto a strip of fabric. Do not use anything that can detach and be swallowed; the BIÖG explicitly advises against attached beads and buttons that "can come off" for small children.
What glue is suitable for sensory bottles? In practice, hot glue inside the lid has proven effective, additionally secured with a ring of tape on the outside. More important than the type of glue is the double security and ensuring that the glue is completely cured before the bottle is given to children.
Sources
- Bavarian State Ministry for Environment and Consumer Protection, Consumer Information System Bavaria: Fatal danger: swallowable parts on toys (as of 01.04.2025): Test cylinder Ø 31.7 mm, small parts rule for under 3-year-olds
- Bavarian State Ministry for Environment and Consumer Protection: What legal requirements exist for toys? (as of 07.01.2026): Toy Directive 2009/48/EC, CE marking
- Lower Saxony State Office for Consumer Protection and Food Safety (LAVES): "Contains swallowable small parts" - how is it tested?: Testing procedure, DIN EN 71-1
- Professional Association of Pediatricians (BVKJ), kinderaerzte-im-netz.de: Dangerous water beads: Accidental ingestion can lead to intestinal obstruction (11.11.2024): Swelling behavior, case evaluation, surgery rate
- Federal Institute for Public Health (BIÖG), kindergesundheit-info.de: Safe toys for babies : Small parts, detachable beads and buttons, button cells, volume
- Federal Institute for Public Health (BIÖG): When noise makes children sick : Decibel thresholds, hearing loss in 8- to 14-year-olds
Note on factual basis: All specific figures, quotes, and limit values in this article are derived from the sources linked above and are directly linked within the text. Statements without source references – the building instructions, the age indications in the table, the toilet paper roll test, and the glue tips – are expressly to be read as practical observations and not as verified recommendations. This article contains no claims of efficacy or healing. Homemade toys are not subject to independent safety testing; responsibility for them lies with you. If you have the impression that your child consistently processes sensory stimuli poorly, a pediatrician or an occupational therapist is the right contact.

Leave a comment
This site is protected by hCaptcha and the hCaptcha Privacy Policy and Terms of Service apply.